Stepping off a long-haul flight into the warm, vibrant air of Vietnam is an intoxicating sensation. The distant chorus of motorbikes, the lingering aroma of star anise and roasted robusta beans, and the vivid contrast of French colonial architecture alongside glass skyscrapers tell you that your adventure has finally begun.
However, before you can head into town for your first iced coffee or embark on a candid portrait shoot across Saigon's historic streets, there is one crucial hurdle every international traveler must clear: Immigration & Customs Control.
With immigration rules evolving rapidly in recent years, outdated travel blogs and deceptive "visa agency" clones continue to mislead first-time visitors. This comprehensive 2026 guide breaks down the exact electronic visa (E-Visa) process, common rejection pitfalls, major international entry ports, and arrival logistics to guarantee a completely stress-free entry.
1. The Vietnam E-Visa Blueprint (90-Day Single & Multiple Entry)
Since late 2023 and continuing throughout 2026, Vietnam offers an open, tourist-friendly electronic visa policy accessible to citizens of all countries and territories worldwide.
- Single-Entry vs. Multiple-Entry Options:
- Single-Entry (Up to 90 Days): Ideal for travelers planning an unbroken journey along classic routes such as our 7 Days in Vietnam Travel Itinerary or a multi-week overland adventure from Hanoi down to Ho Chi Minh City.
- Multiple-Entry (Up to 90 Days): Essential if you plan to use Vietnam as your Southeast Asian hub—allowing you to hop across the border to Angkor Wat in Cambodia, Luang Prabang in Laos, or Bangkok, and re-enter Vietnam without filing a fresh visa application.
- Official Government Fees:
- $25 USD for a Single-Entry E-Visa.
- $50 USD for a Multiple-Entry E-Visa.
- Note: Payments are processed through an international card payment gateway. This fee is strictly non-refundable regardless of whether your application is approved or rejected due to user errors.
- The Only Official Government Portals:
- Official Portal 1: https://evisa.gov.vn
- Official Portal 2: https://thithucdientu.gov.vn
- Warning: Never submit passport details to unverified third-party domains ending in
.com or .org that claim to be "official". Legitimate Vietnamese government portals always use the .gov.vn top-level domain.
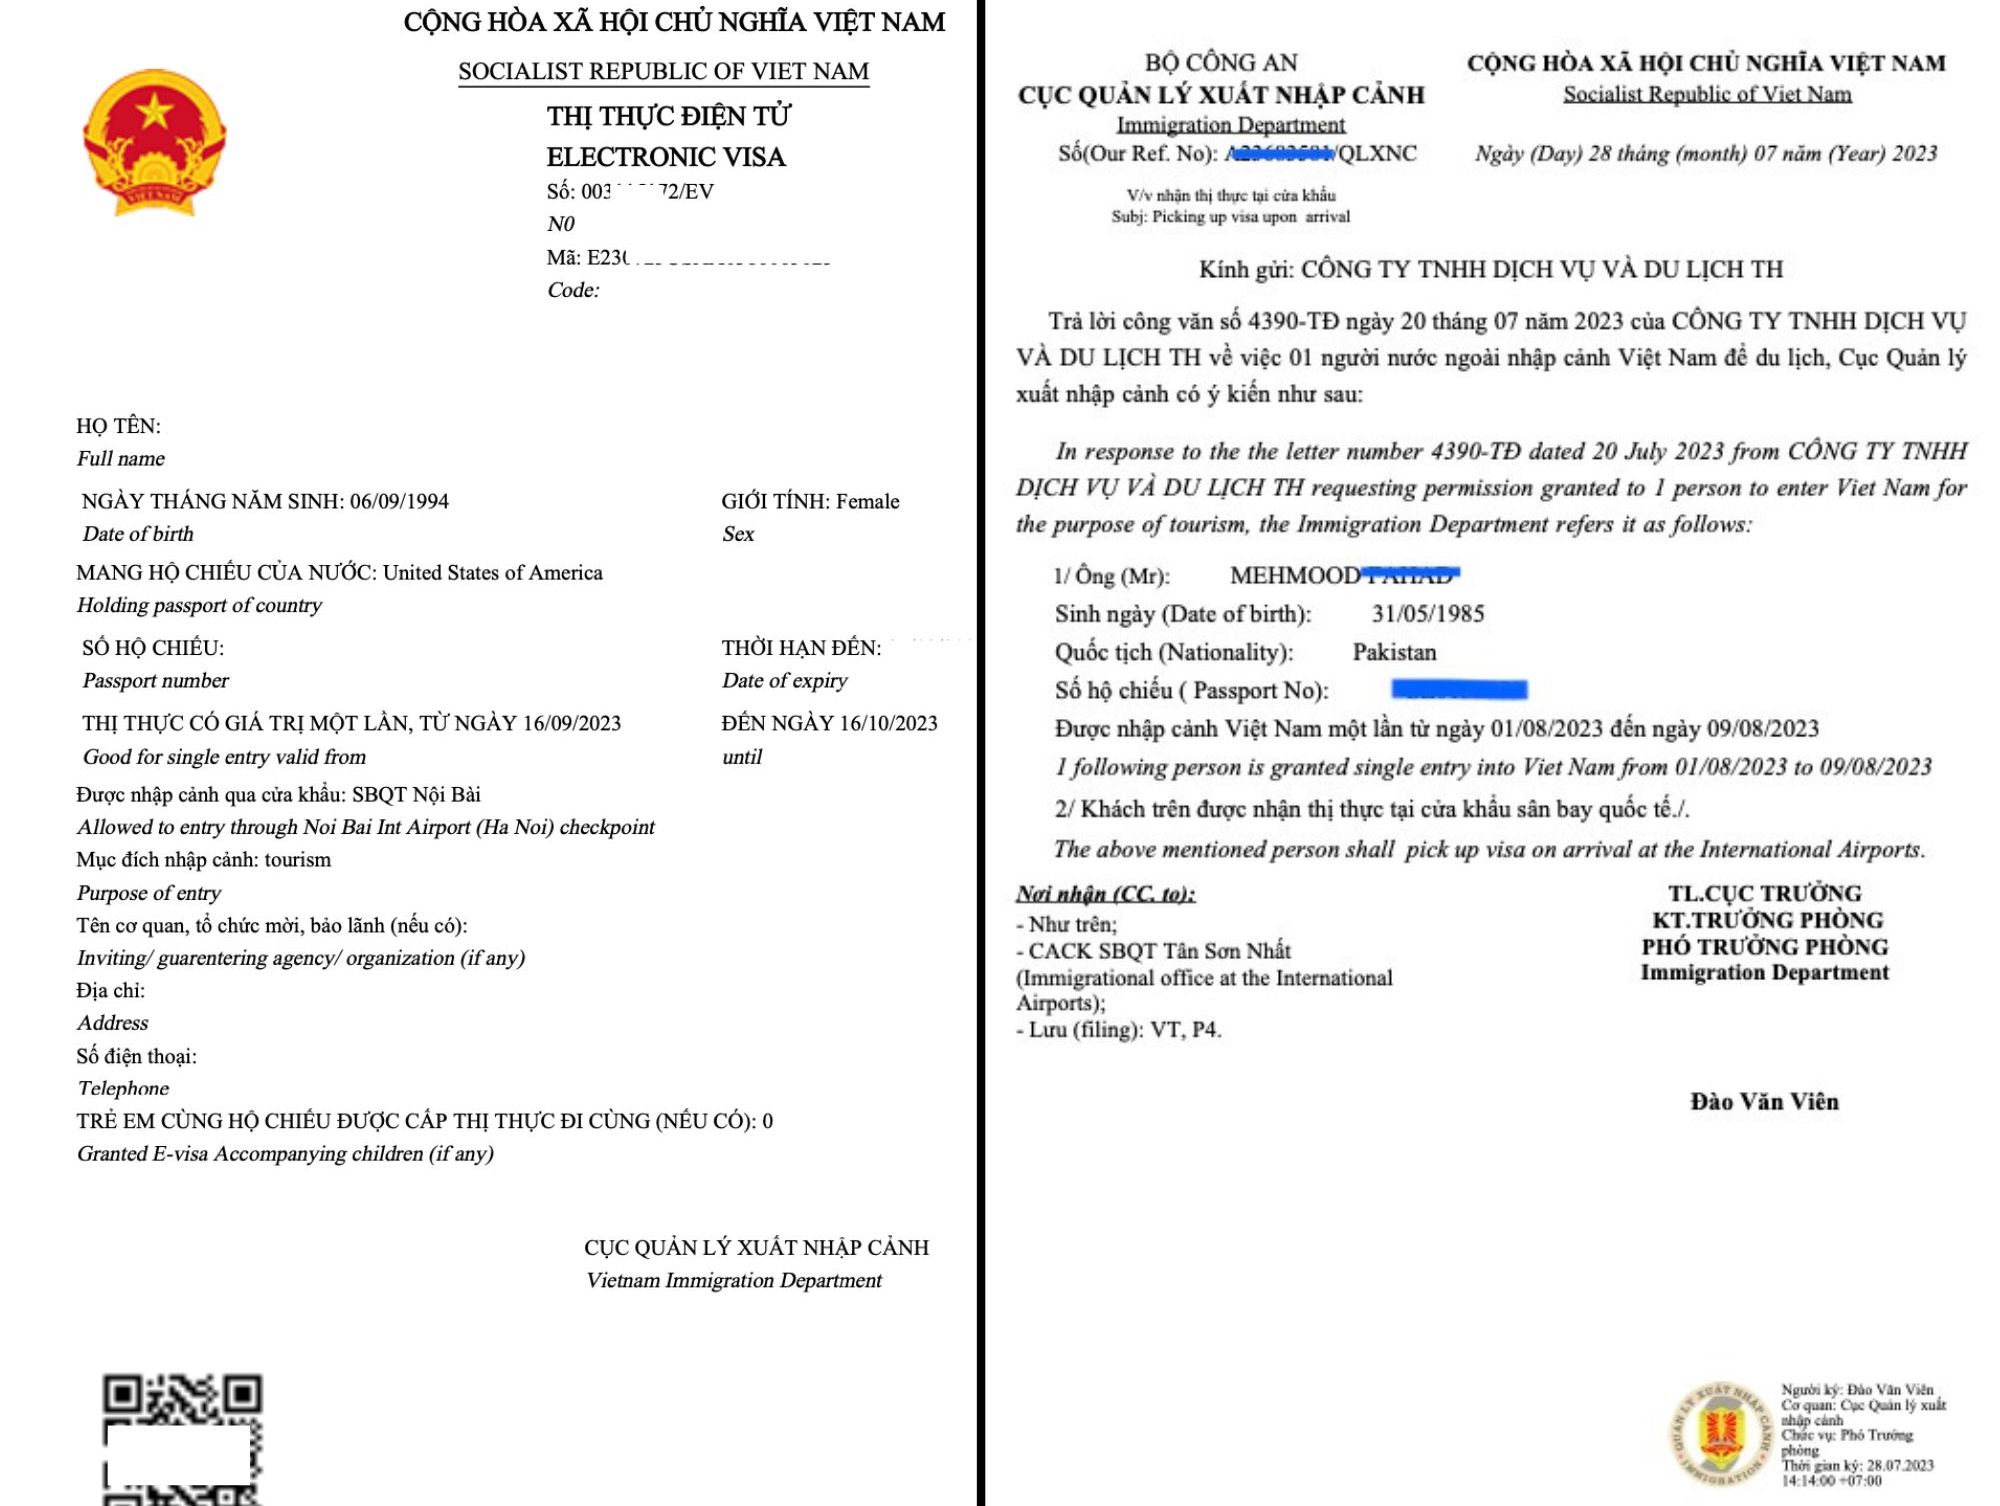
Vietnam E-Visa Example Sample(CLICK TO EXPAND)
EDITORIAL ARCHIVE // SOURCE: INTERNET ARCHIVE
2. Document Checklist: What to Prepare Before Applying
Preparing clean digital assets before opening the application page will save you from session timeouts and frustrating re-uploads:
- Passport Validity: Your passport must have at least 6 months of remaining validity from your planned date of entry into Vietnam, along with at least 2 blank visa pages.
- Bio Page Scan / Clear Photo: A crisp, full-color digital image of your passport's bio page. Ensure all four corners are visible, text is sharp, and there is no camera flash reflecting over the Machine-Readable Zone (MRZ) at the bottom.
- Digital Portrait Photograph (4x6 cm format):
- Plain white or off-white background.
- Looking directly into the camera with a neutral expression (no wide smiling).
- No eyeglasses, sunglasses, or hats (religious headwear is permitted if the facial oval is completely exposed).
- JPG or PNG format, under 2 MB in file size.
- Confirmed Initial Accommodation Address: The full name and street address of your first hotel or Airbnb (e.g., District 1, Ho Chi Minh City).
- Designated Checkpoint (Port of Entry & Exit): You must specify your arrival port and departure port upfront.
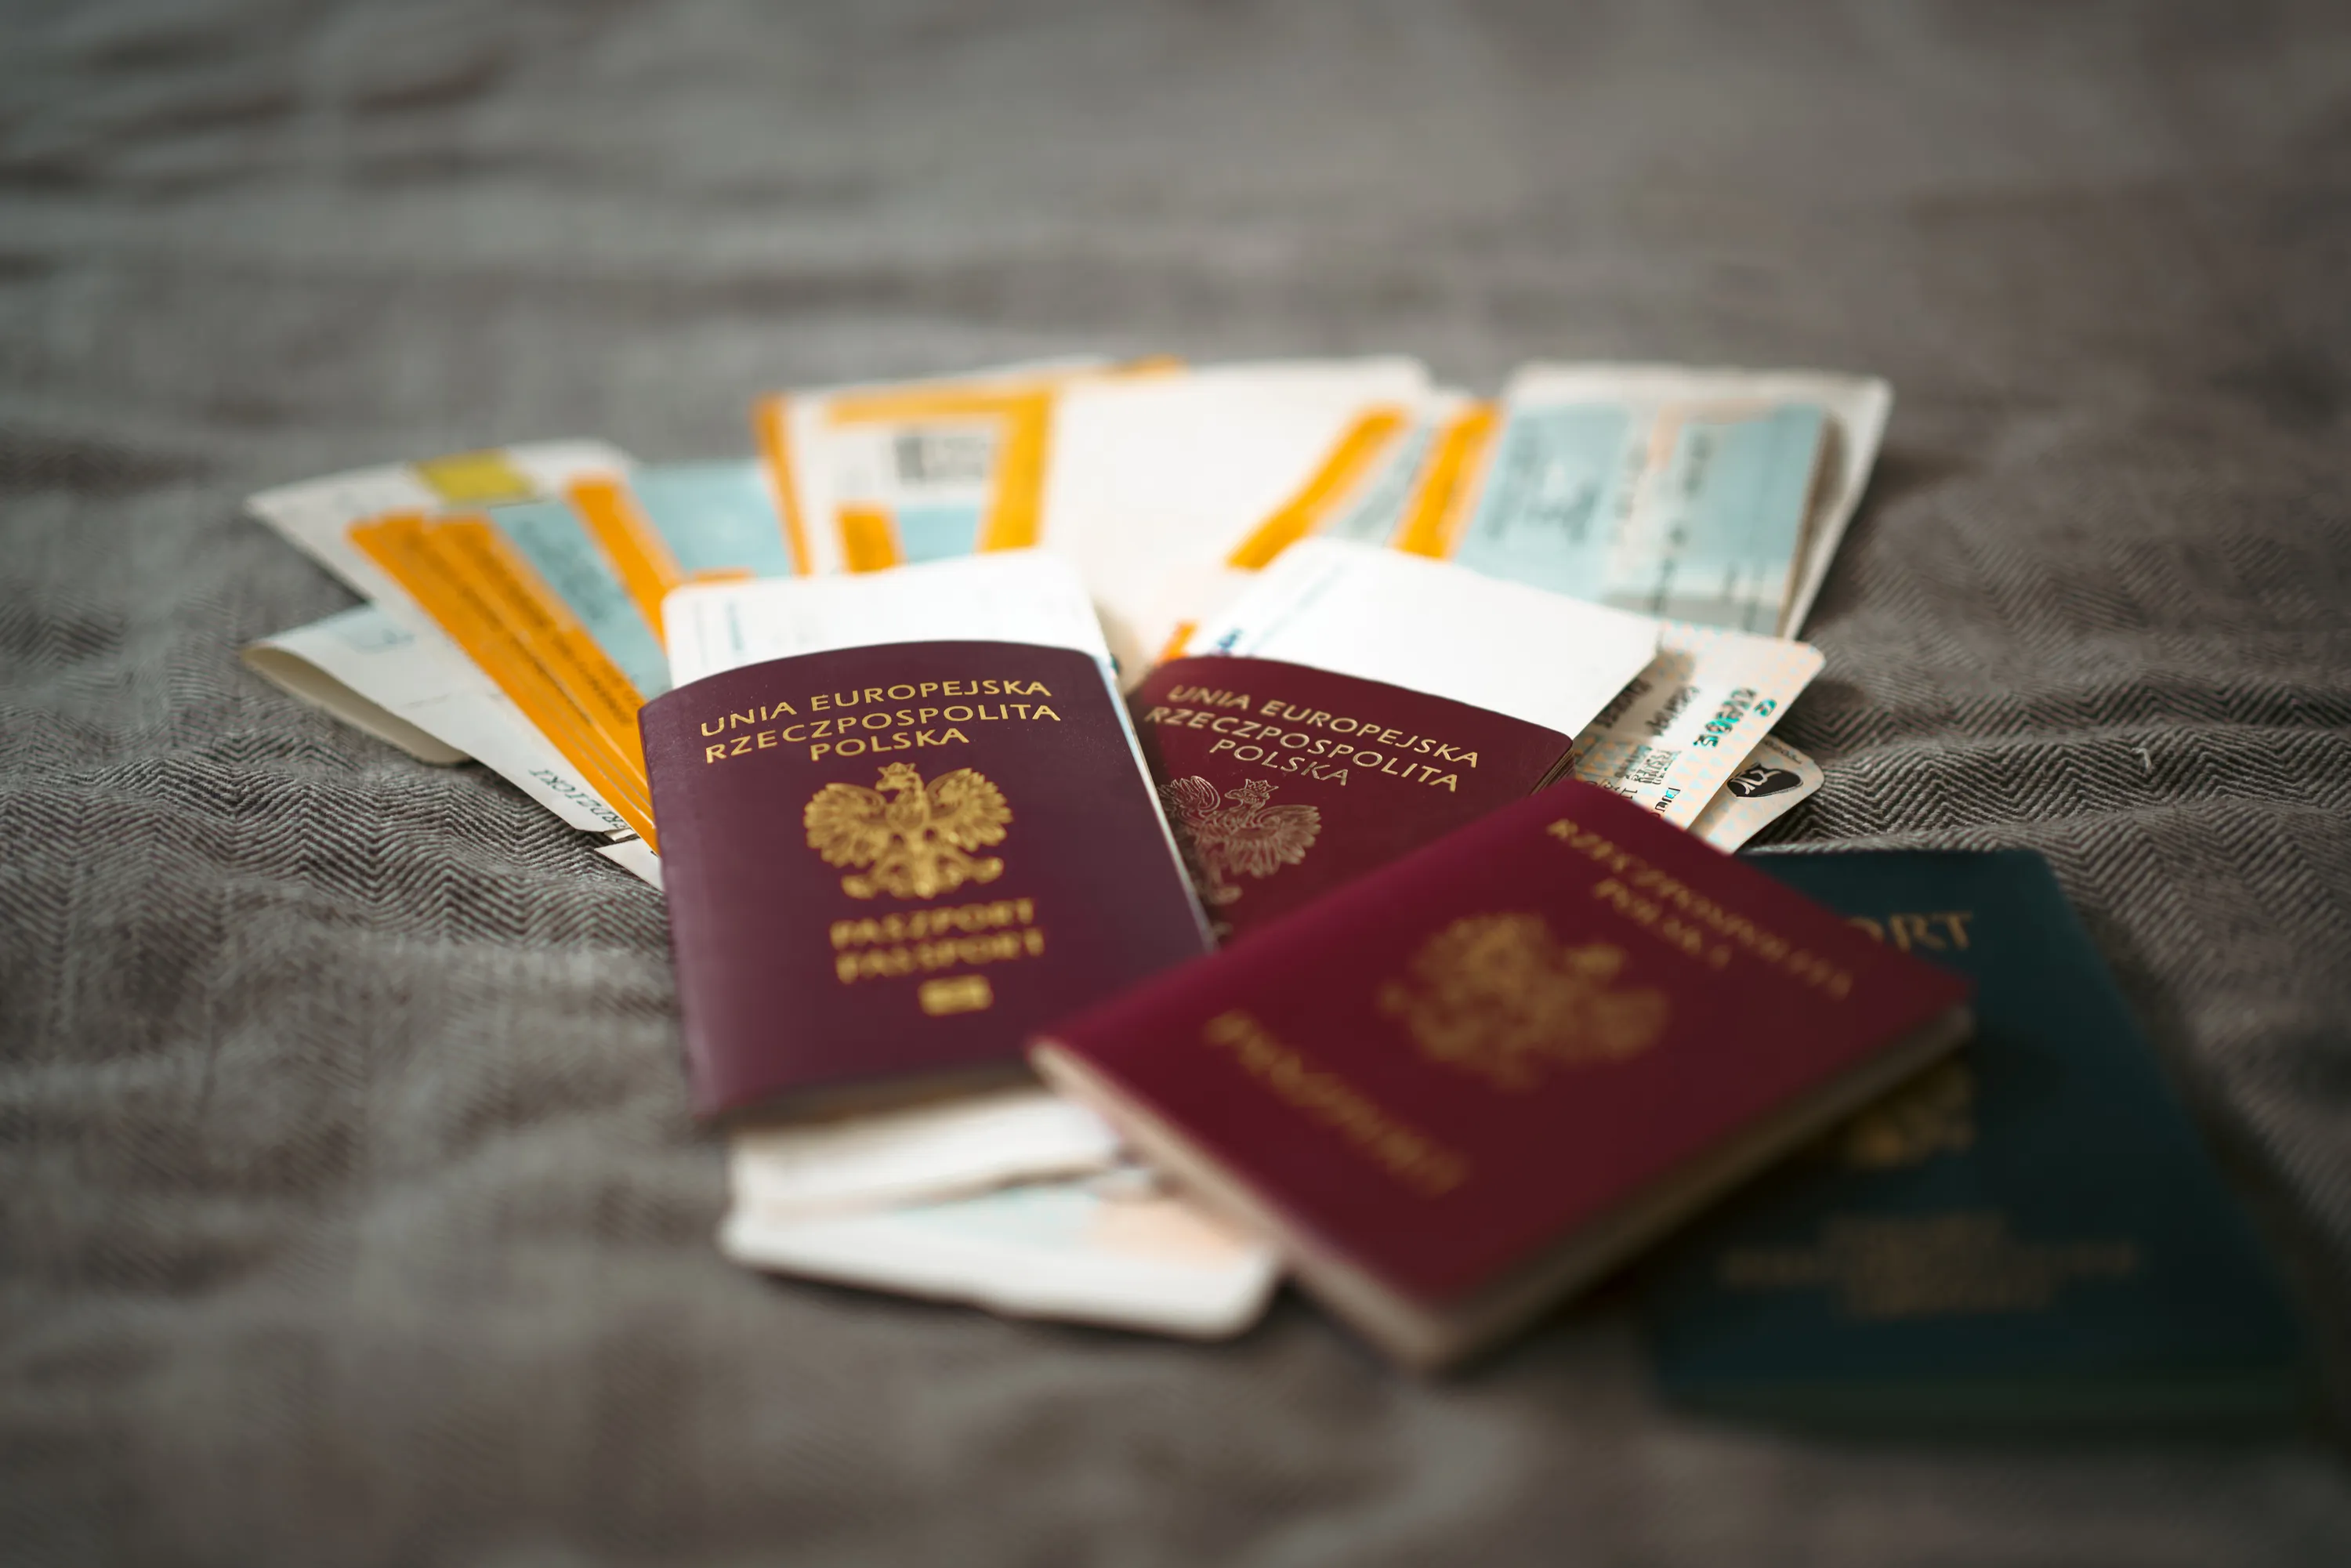
Packing documents(CLICK TO EXPAND)
EDITORIAL ARCHIVE // SOURCE: INTERNET ARCHIVE
3. Step-by-Step Online Application Walkthrough
Follow these steps carefully to ensure your dossier passes automated screening without manual flag delays:
- Step 1: Uploading Photos & Bio Page: On the official portal, upload your portrait and passport bio page. The system's OCR (Optical Character Recognition) will auto-populate certain fields.
- Step 2: Cross-Check Auto-Filled Information: Do not trust OCR blindly. Frequently, middle names are merged into surnames or date-of-birth formats are inverted (DD/MM/YYYY vs. MM/DD/YYYY). Ensure your Full Name matches the exact sequence printed on the MRZ strip.
- Step 3: Select Entry and Exit Checkpoints: Choose the exact border gate where you will land. If you are flying into Saigon, select Tan Son Nhat Int Airport (Ho Chi Minh City). If your trip starts in the north, choose Noi Bai Int Airport (Ha Noi).
- Step 4: Save Your Registration Code: Once you submit the basic form, write down your Registration Code (Mã hồ sơ) and registration email. Without this code, checking your approval status later is virtually impossible.
- Step 5: Pay the Processing Fee: Complete the transaction using your credit or debit card. Ensure international payments are enabled on your card.
4. Critical Mistakes That Cause Visa Denials or Airport Turnaways
Over 90% of travel disruptions at immigration checkpoints stem from preventable clerical mistakes:
[!CAUTION]
Mismatching Entry Port: Unlike older pre-approved visa letters, Vietnam's E-Visa legally restricts entry to the checkpoint designated on your PDF. If your visa states Tan Son Nhat Airport and your airline re-routes your arrival flight to Da Nang, border officers may deny entry. If your travel plans change before departure, you must apply for an updated visa.
- Name Order Discrepancies: If your passport reads
DOE, John Michael, entering your name as Michael John Doe can lead to boarding rejection by airline check-in staff.
- Underestimating Processing Buffers: While official processing time is 3 to 5 business days, server maintenance, national holidays (such as Lunar New Year or National Day), and verification queues frequently stretch this to 7 to 10 days. Always submit your application at least 2 to 3 weeks prior to your flight.
- Printing Your E-Visa: While immigration officers have digital databases, physical paper remains king in Vietnam. Print at least 2 hard copies of your approved E-Visa PDF. Airlines often insist on seeing a physical printout at departure check-in.
Stressful mistakes(CLICK TO EXPAND)
EDITORIAL ARCHIVE // SOURCE: INTERNET ARCHIVE
5. Arrival Logistics: What to Do Once You Land
After landing at Tan Son Nhat (SGN) or Noi Bai (HAN), follow this arrival routine to breeze through the terminal into the city:
- Immigration Counters: Walk past the Visa-on-Arrival counter (which is reserved for emergency paper approvals) and proceed directly to the standard Foreign Passport / E-Visa lanes. Present your physical passport, boarding pass, and printed E-Visa copy.
- Baggage & Customs: Collect your luggage. If you are carrying professional photography equipment or analog film, see our dedicated packing tips below.
- Local Connectivity (SIM & eSIM): While terminal kiosks sell local SIM cards from Viettel and Vinaphone, ordering an eSIM online before departure allows you to connect to mobile data the moment the wheels touch the tarmac.
- Airport Transportation: Avoid aggressive freelance drivers soliciting inside the terminal halls. Instead, book a ride using the Grab or Xanh SM app, or head outside to the official metered taxi lanes for reputable companies like Vinasun or Mai Linh.
6. Photography Gear & Film Travel Precautions
For visual creators and photography enthusiasts visiting Vietnam, international arrivals require extra mindfulness:
- Hand-Inspection for Analog Film: Modern airport computed tomography (CT) scanners can fog unexposed film rolls in a single pass. Place all 35mm and 120 film rolls in a transparent Ziploc pouch in your carry-on luggage. Politely request a physical hand check ("Xin vui lòng kiểm tra bằng tay"), especially when returning through major hubs. Read our comprehensive guide on why film photography is the ultimate Vietnam souvenir for tips on local lab processing.
- Drone Regulations: Bringing aerial drones into Vietnam requires prior military flight permits. If you plan to fly a drone for recreational landscape captures in regions like Da Lat or the Mekong Delta, review local municipal flight restrictions before takeoff.
Vintage camera photography tips(CLICK TO EXPAND)
EDITORIAL ARCHIVE // SOURCE: INTERNET ARCHIVE
7. Frequently Asked Questions (FAQ)
Can I extend my 90-day E-Visa while inside Vietnam?
In-country visa extensions are generally not available for standard tourist E-visas. If you wish to stay longer than 90 days, the standard method is doing a "visa run" by crossing a land border into Laos or Cambodia (or taking a short flight to Thailand) and returning on a newly approved E-visa.
Does my child need their own separate E-Visa?
If a child has their own individual passport, they must hold their own individual E-visa application. Only children included directly on a parent's passport bio page can be attached to the parent's application.
What should I do if my application status is stuck on "In Processing"?
If your departure date is within 48 hours and your status has not updated, visit the official support inquiry form on the portal with your registration code, or consult your airline for emergency support services.
Ready to Document Your Vietnam Adventure?
With your visa paperwork in order, your journey is set to be unforgettable. From exploring vintage hidden alleys to watching the sunset illuminate the city skyline, Vietnam is a visual paradise for curious travelers.
If you are traveling through Ho Chi Minh City and want authentic, stress-free photographs to remember your journey, explore our interactive Photo Atlas Saigon or book a personalized street portrait walk. Let's create timeless memories together!